Fun With Sliceforms
I was recently inspired to make my first sliceform.
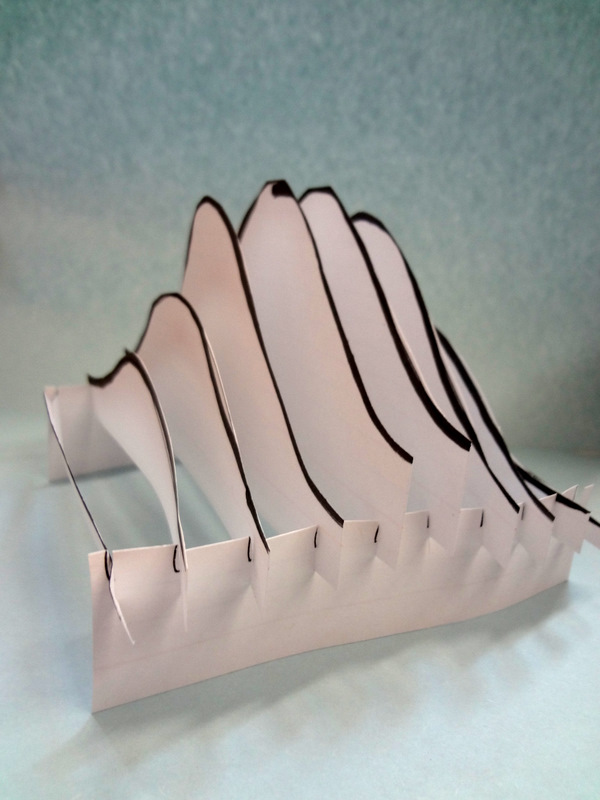
With a handful of index cards, a marker, and some scissors, I was able to make this fun representation of a surface in 3D!
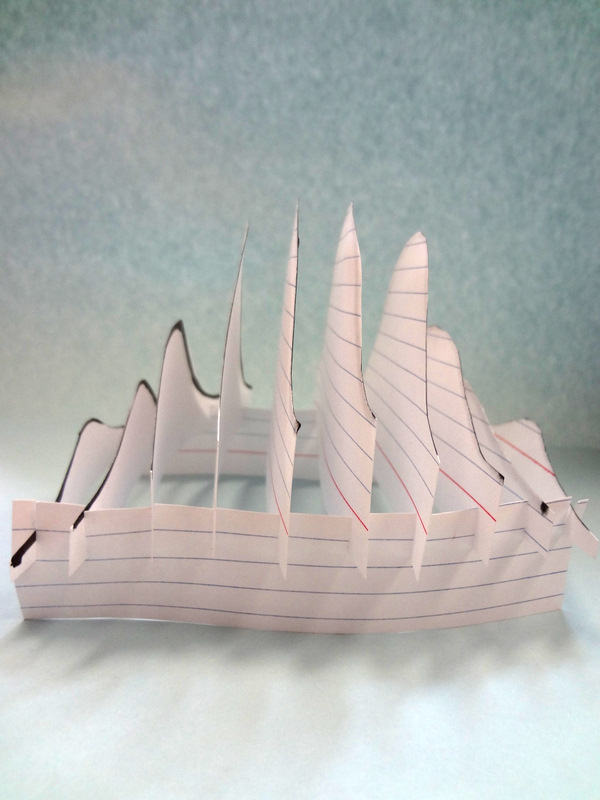
Turn it to the side, and see the surface from a different perspective.
The inspiration was timely, as my Calculus class has been discussing cross-sections, traces, and level curves of surfaces in space. What a perfect way to demonstrate how to understand a surface by looking at representative slices!
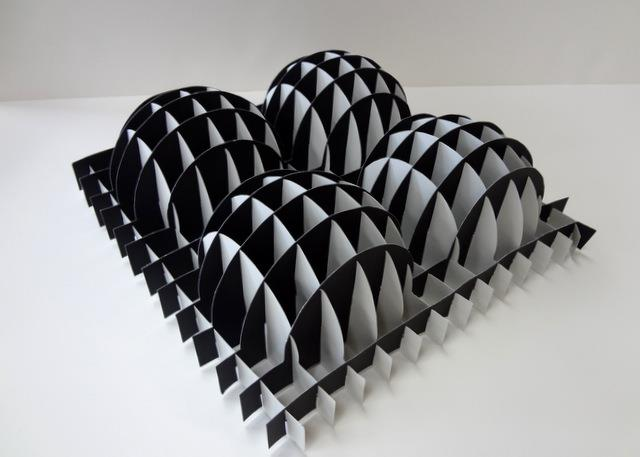
A great, simple tool, and you can see some examples of the sliceforms my students created, like the one seen below, here.


8 Comments
benice · September 16, 2011 at 12:31 pm
Hi! Great inspiration.
I like the concept of level curves (& level surfaces) and have some fun with cross-sections:
http://community.wolframalpha.com/viewtopic.php?f=20&t=73538
BTW, I noticed that you are interested in Curve Fitting:
https://mrhonner.com/2011/03/13/fitting-curves-to-squash/
Could you please tell me how to plot implicit equations using Geogebra?
Thank you and best regards.
MrHonner · September 17, 2011 at 11:22 am
Thanks for sharing the link to the wolfram blog–there’s some interesting stuff there. I like the idea of trying to create crazy surfaces whose traces are artistic images.
To plot implicit equations in Geogebra, use the Curve[] function. For example,
Curve[ 2t, t^2 – 1, t, 2, 10 ]
would plot the parametric curve
x(t) = 2t, y(t) = t^2 – 1, for 2 <= t <= 10
More information can be found here: http://wiki.geogebra.org/en/Curve_Command
benice · September 18, 2011 at 3:27 am
Thank you for your kind explanation. I mistakenly thought that Geogebra can be used to plot implicit equations directly.
John Sharp (Sliceforms) · September 19, 2011 at 5:09 am
Sliceforms have two sets of slices at right angles to one another. The slots are cut half way, one up and one down to match.
You can find out more on my WordPress blog at http://sliceforms.wordpress.com/.
There are also some templates to download and details of using Google Sketchup to create the slices.
Also you will find my two books on Sliceforms.
You also might be interested in exploring D-Forms. They are included in my photos on Flickr along with many on Sliceforms and other mathematical paper explorations. http://www.flickr.com/photos/7265584@N04/
There are even Sliceforms of D-Forms at http://www.flickr.com/photos/82306974@N00/3307610722
Keep up the good work. Excellent site
John Sharp
MrHonner · September 19, 2011 at 4:29 pm
Wow! Thanks for sharing all the amazing resources. I’m sure I’ll enjoy making my way through your photos and work.
And thanks for the tip on using two sets of slices: I was just using one set as a guide. I see now that I can create even greater visual effects by simply rotating 90 degrees and repeating the procedure..
Robert L. Tuva (@rltuva) · September 20, 2011 at 12:08 pm
I followed your idea, made something similar. 🙂
http://twitpic.com/6nv5d3
Yeah, orthogonal sets of slices should result in a better, more stable structure.
I see also I can approach a bit differently for surfaces with central symmetry — by stacking disk slices on a vertical rod.
John Sharp (Sliceforms) · September 20, 2011 at 5:04 pm
If you look at my Flickr set, this one
http://www.flickr.com/photos/7265584@N04/414777714/in/photostream
has another method for surfaces of revolution and the like.
There is a centre circle with slots in it, like Sliceforms being half way. Then half the cross section is folded and a cut made. By making a cut you open it out to attach it to the central circle and the tension holds it there.
If this is not clear, I will copy some instructions from my book and put it on my WordPress blog.
The d-cecil Flickr photos has a number of examples using this idea which he got from my book http://www.flickr.com/photos/dr2c/with/3059368545/
He has some other good ideas too
MrHonner · September 20, 2011 at 12:56 pm
Nice work! Yours looks so much better than mine.
Maybe we could have a “sliceform” contest, with sliceform-expert John Sharp as our celebrity judge!